✨ New Arrivals Just Dropped!Explore
HUSQVARNA® VIKING® Piping Foot
The piping foot is perfect for inserting packaged piping into seams and on edges for a tailored finish. The piping foot also makes it fast and easy to cover cording with fabric and insert piping into seams for a professional finish.
How to Use:
1. Set the overlock machine for the desired stitch.
2. Snap on the Piping Foot.
To stitch piping into a seam:
3. Place the piping along the seam line on right side of fabric. Place second piece of fabric on top with right sides together.
4. Put fabric and piping layers under the Piping Foot with the piping in the groove on the underside of the foot.
5. Sew piping into the seam.
6. The groove on the underside of the foot will guide the piping as you sew.
To make piping from your fabric:
7. Cut bias or crosswise grain strips wide enough to cover the cord plus the seam allowances.
8. Lay the cord on the wrong side of the fabric strip and fold the fabric over the cord.
9. Place the fabric and cord under the Piping Foot with the cord in the groove on the underside of the foot.
10. Sew. The groove will guide the cord as you sew.
How to Use:
1. Set the overlock machine for the desired stitch.
2. Snap on the Piping Foot.
To stitch piping into a seam:
3. Place the piping along the seam line on right side of fabric. Place second piece of fabric on top with right sides together.
4. Put fabric and piping layers under the Piping Foot with the piping in the groove on the underside of the foot.
5. Sew piping into the seam.
6. The groove on the underside of the foot will guide the piping as you sew.
To make piping from your fabric:
7. Cut bias or crosswise grain strips wide enough to cover the cord plus the seam allowances.
8. Lay the cord on the wrong side of the fabric strip and fold the fabric over the cord.
9. Place the fabric and cord under the Piping Foot with the cord in the groove on the underside of the foot.
10. Sew. The groove will guide the cord as you sew.
$11.24
Original: $37.46
-70%HUSQVARNA® VIKING® Piping Foot—
$37.46
$11.24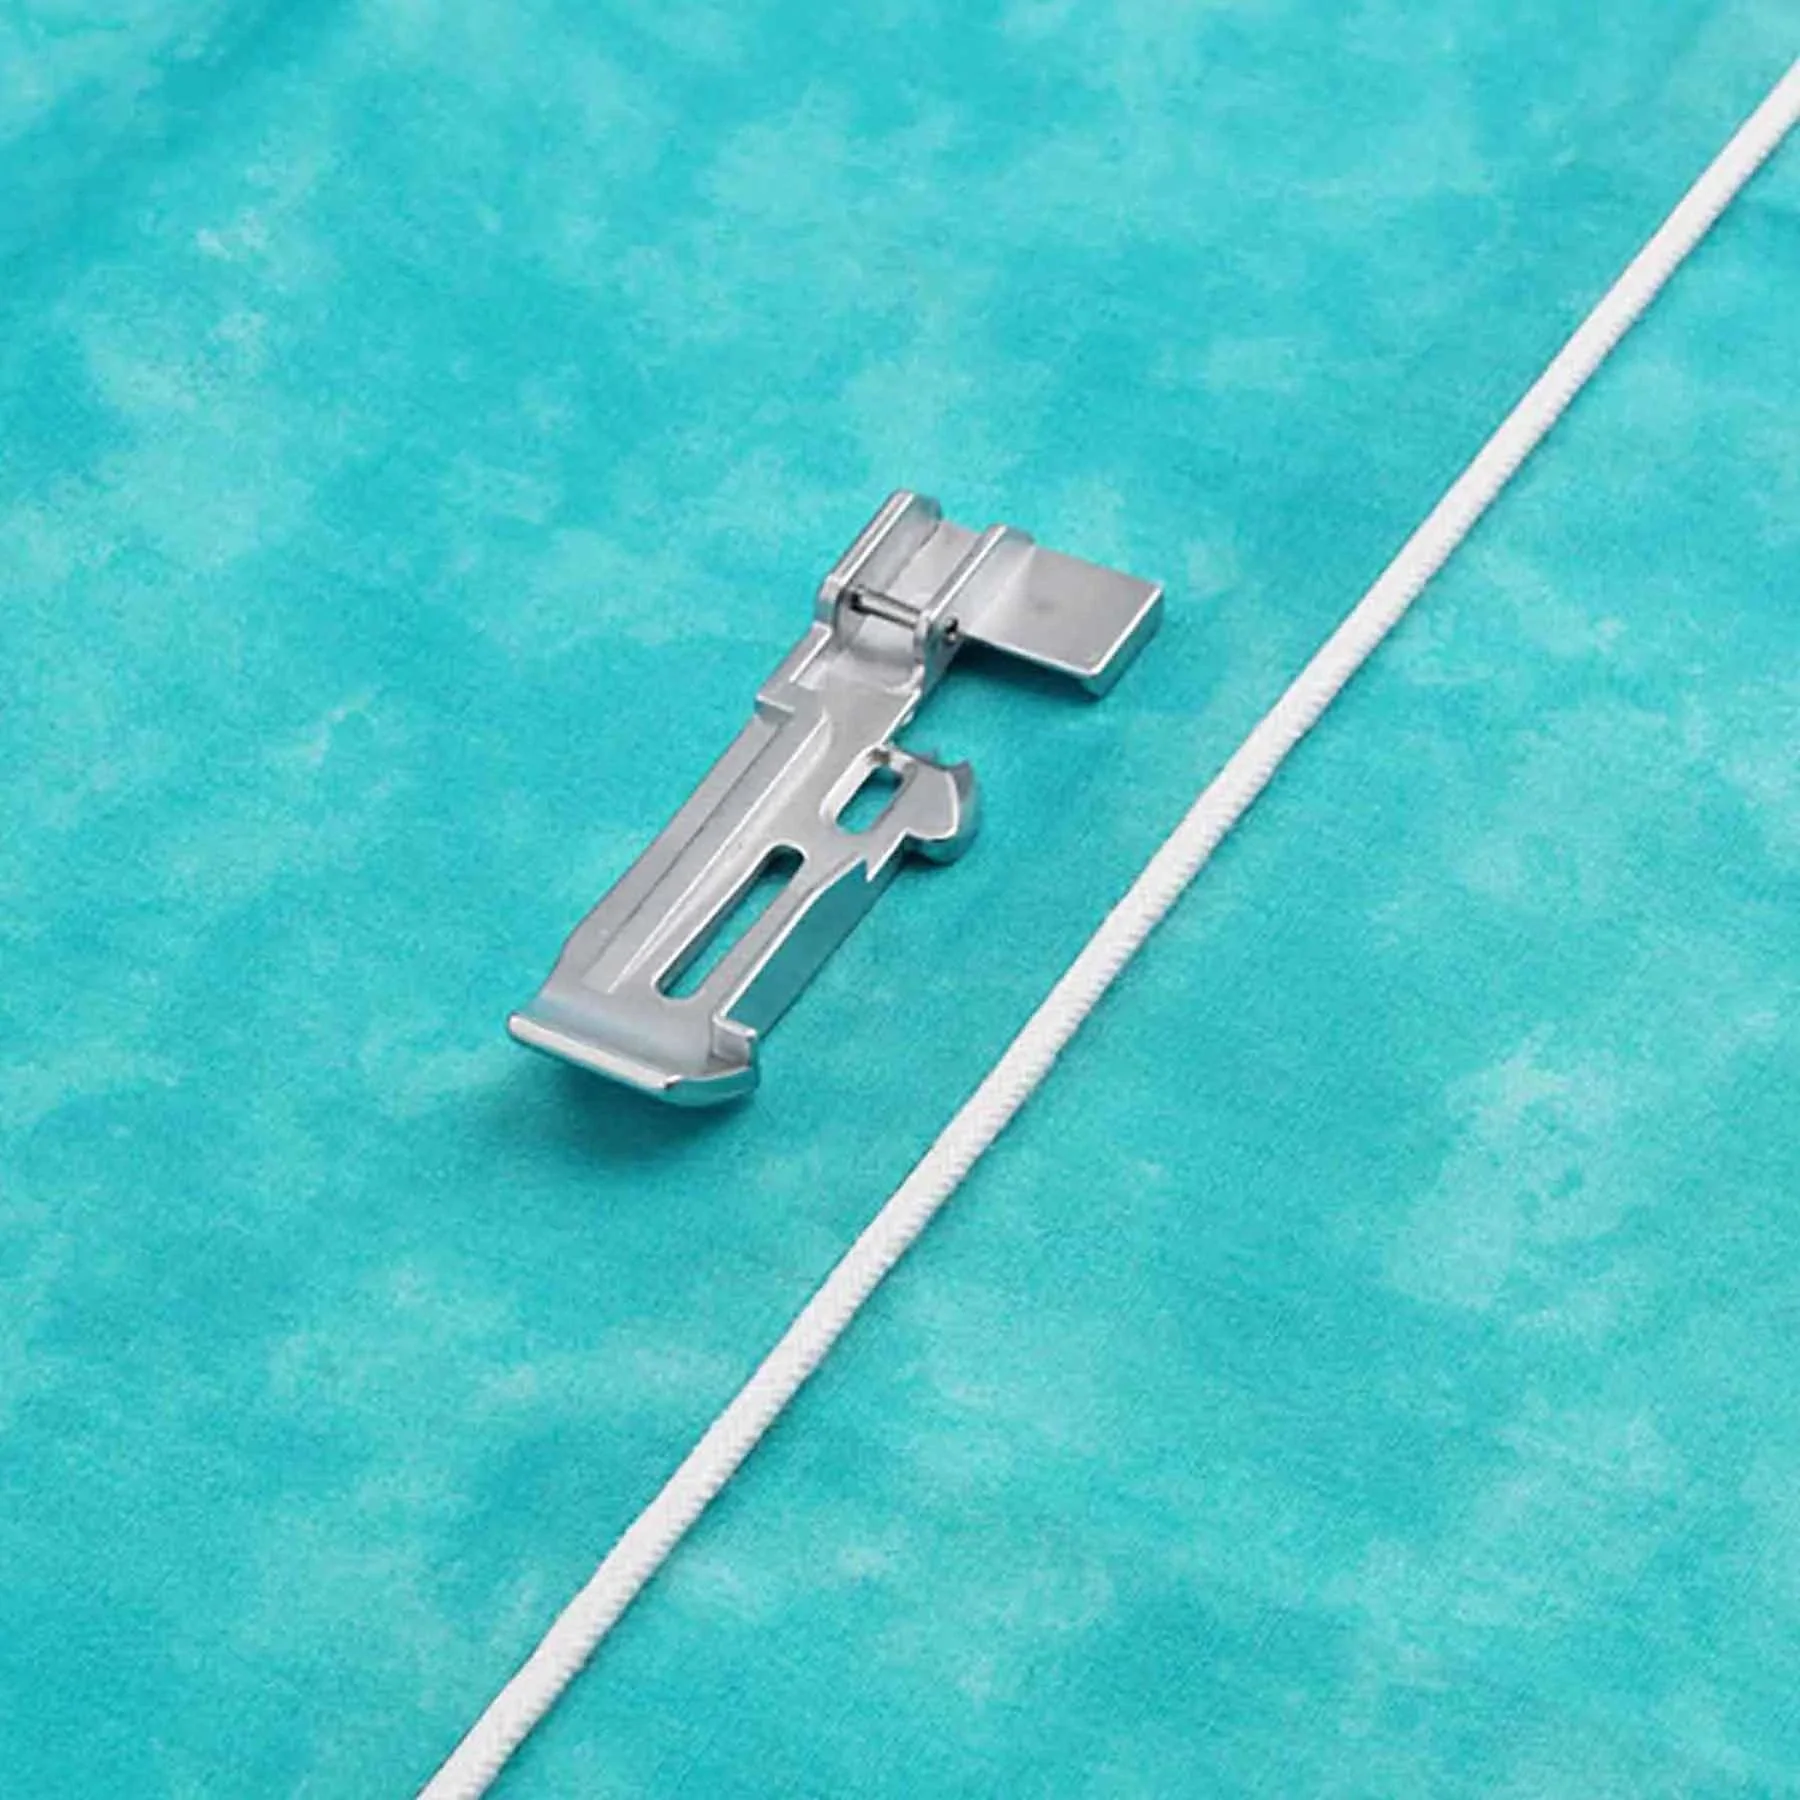
Description
The piping foot is perfect for inserting packaged piping into seams and on edges for a tailored finish. The piping foot also makes it fast and easy to cover cording with fabric and insert piping into seams for a professional finish.
How to Use:
1. Set the overlock machine for the desired stitch.
2. Snap on the Piping Foot.
To stitch piping into a seam:
3. Place the piping along the seam line on right side of fabric. Place second piece of fabric on top with right sides together.
4. Put fabric and piping layers under the Piping Foot with the piping in the groove on the underside of the foot.
5. Sew piping into the seam.
6. The groove on the underside of the foot will guide the piping as you sew.
To make piping from your fabric:
7. Cut bias or crosswise grain strips wide enough to cover the cord plus the seam allowances.
8. Lay the cord on the wrong side of the fabric strip and fold the fabric over the cord.
9. Place the fabric and cord under the Piping Foot with the cord in the groove on the underside of the foot.
10. Sew. The groove will guide the cord as you sew.
How to Use:
1. Set the overlock machine for the desired stitch.
2. Snap on the Piping Foot.
To stitch piping into a seam:
3. Place the piping along the seam line on right side of fabric. Place second piece of fabric on top with right sides together.
4. Put fabric and piping layers under the Piping Foot with the piping in the groove on the underside of the foot.
5. Sew piping into the seam.
6. The groove on the underside of the foot will guide the piping as you sew.
To make piping from your fabric:
7. Cut bias or crosswise grain strips wide enough to cover the cord plus the seam allowances.
8. Lay the cord on the wrong side of the fabric strip and fold the fabric over the cord.
9. Place the fabric and cord under the Piping Foot with the cord in the groove on the underside of the foot.
10. Sew. The groove will guide the cord as you sew.